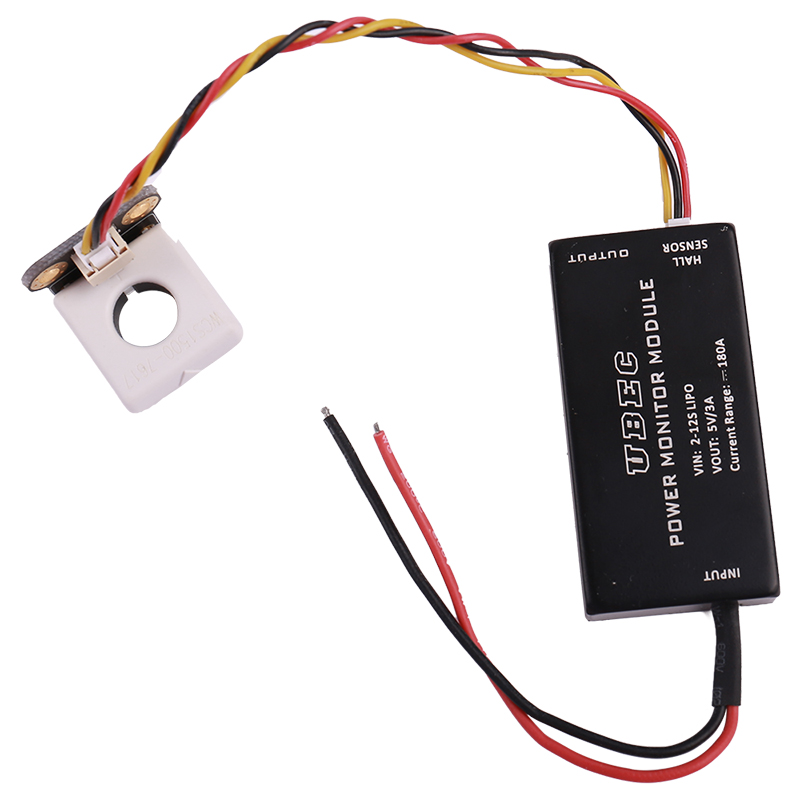
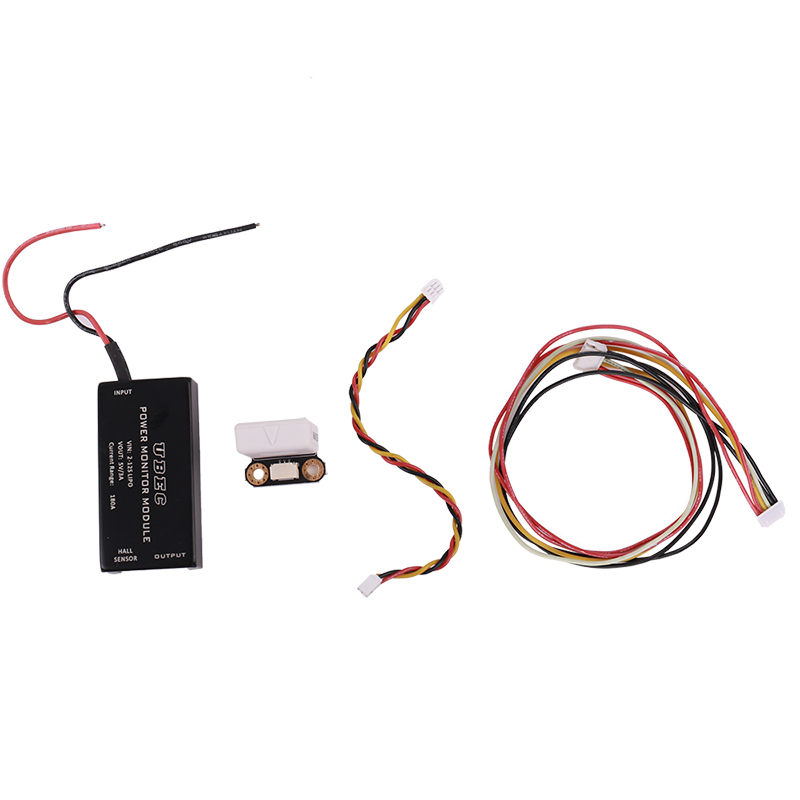
APM/Pixhawk 180A Hall Sensor Inductive Galvanometer UBEC 12S Power Monitor Module Ammeter Current Meter Molex /JST-GH 1.25mm for RC Drone FPV Aircraft Airplane
Product Specification
Model : (optional)
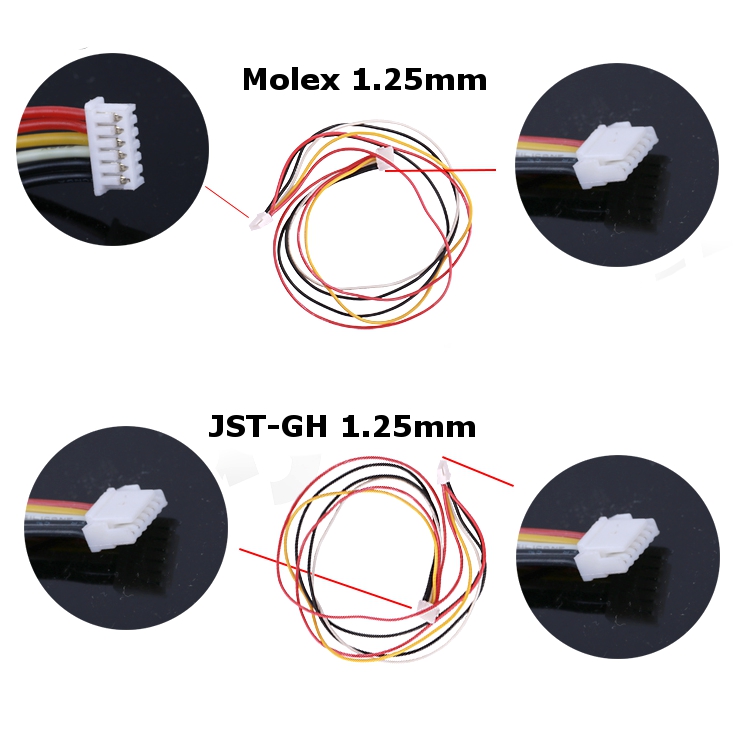
Hall Sensor / Galvanometer + JST-GH Wire / Galvanometer + Molex 1.25mm Wire / Galvanometer + Hall Sensor + JST-GH Wire / Galvanometer + Hall Sensor + Molex 1.25mm Wire
Hall Sensor / Galvanometer + JST-GH Wire / Galvanometer + Molex 1.25mm Wire / Galvanometer + Hall Sensor + JST-GH Wire / Galvanometer + Hall Sensor + Molex 1.25mm Wire
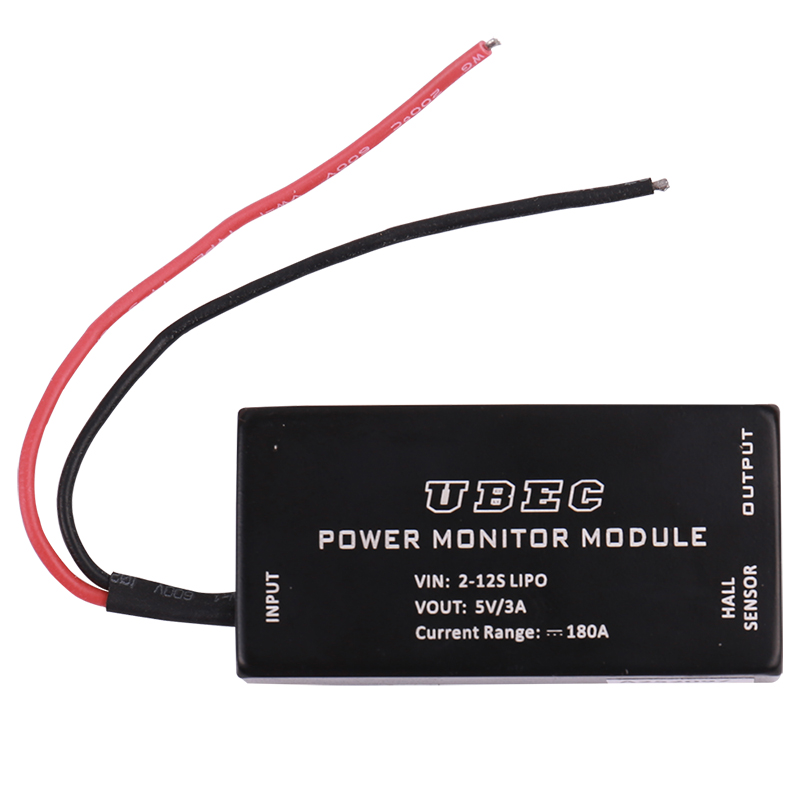
Size: 50*25*10mm
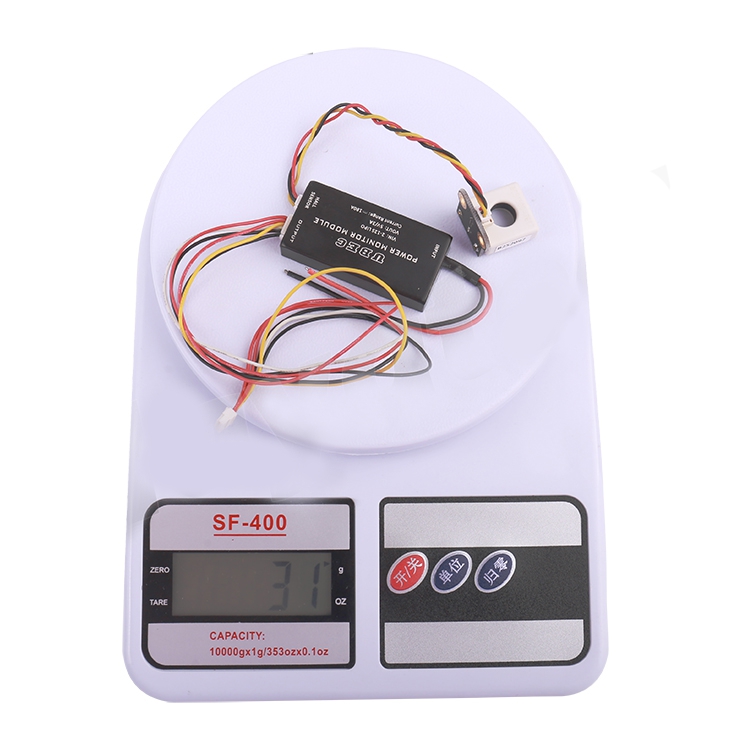
Weight: Main module 16g, Hall sensor 6.5g
Input Voltage: 2-12S LIPO Maximum 60V
Output voltage: 5V/3A
Voltage detection ratio: 15.7 (3.3V system can reach 15.7*3.3=51V=12S LIPO)
Current detection output ratio: 54.64A/V (3.3 system detects 54.64*3.3=180A)
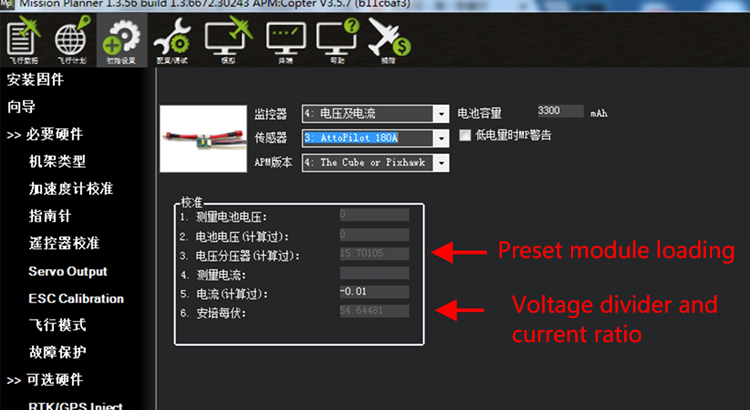
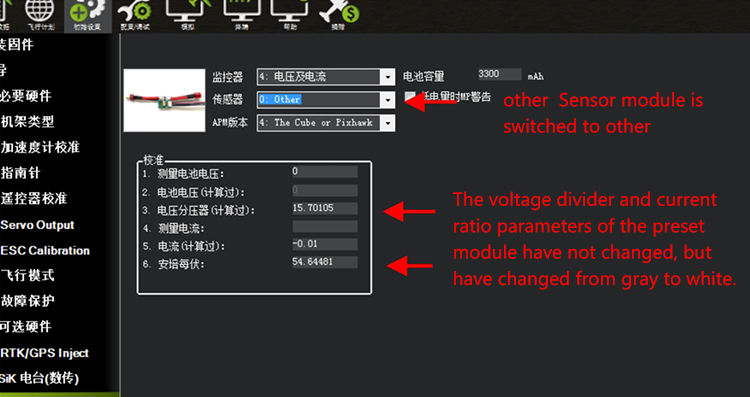
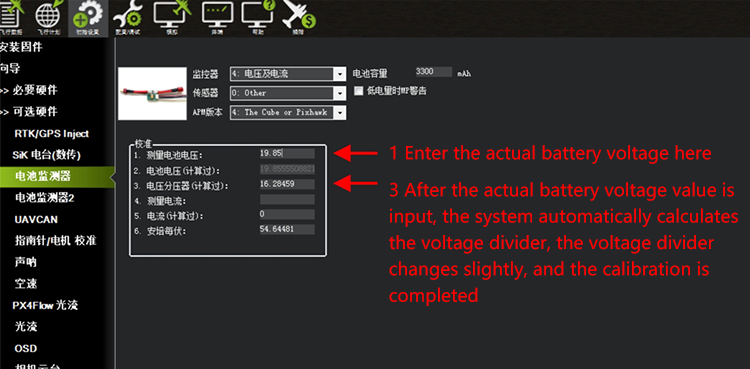
How to Calibrate on PIX Flight Control (refer to the last 3 pictures on page.)
1. Select 434, that is, the sensor module chooses the preset Attopilot180A module, the system will load the voltage divider value is 15.7, the current ratio is 54.64. After selection, in some cases, it will not take effect immediately. It is necessary to restart the flight control, so after selection 434, please restart the flight control and reconnect the ground station.
2. After reconnecting to the ground station, reopen the battery monitoring settings page to ensure that the sensor module is switched to other when it has been displayed as 434 successfully saved. At this time, the voltage divider and ampere per volt columns turn gray to white.
3. The system automatically divides the input voltage by the voltage detected by its ADC to get a new voltage divider. The calibration is completed. As shown below, the divider changes from 15.7 to 16.28. The display voltage after calibration will be updated in column 2.
After calibration, remember that do not change the sensor module back to Attopilot180A module and keep 404. As mentioned earlier, Attopilot180A module is a preset module. When you switch back to the preset module, the voltage divider and current ratio will be restored to the preset data, which means the calibration earlier is in vain.

