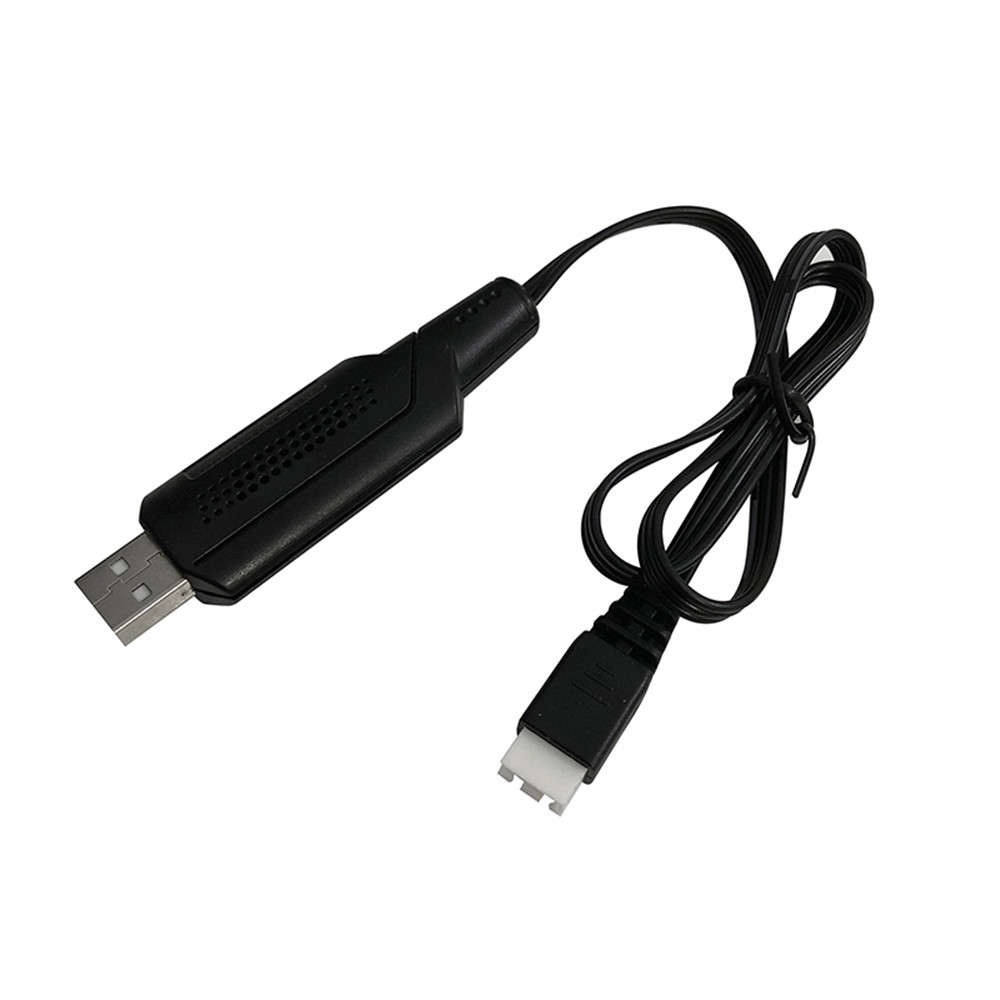
RROSD EVO V1 12V 5V 3A BEC OSD Power Distribution Board
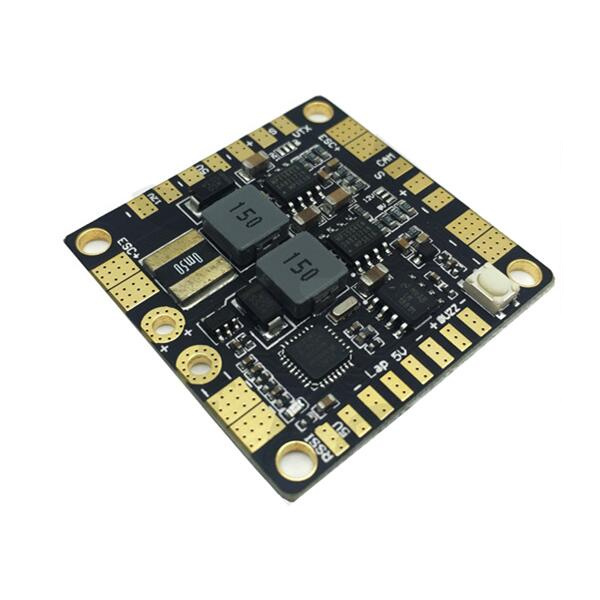
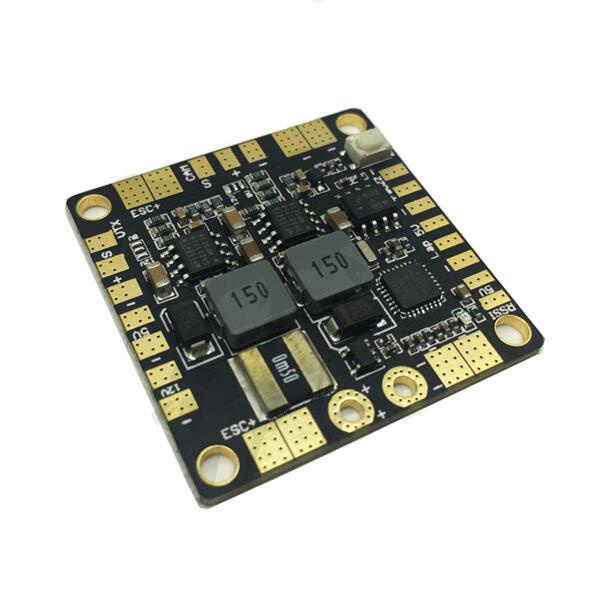
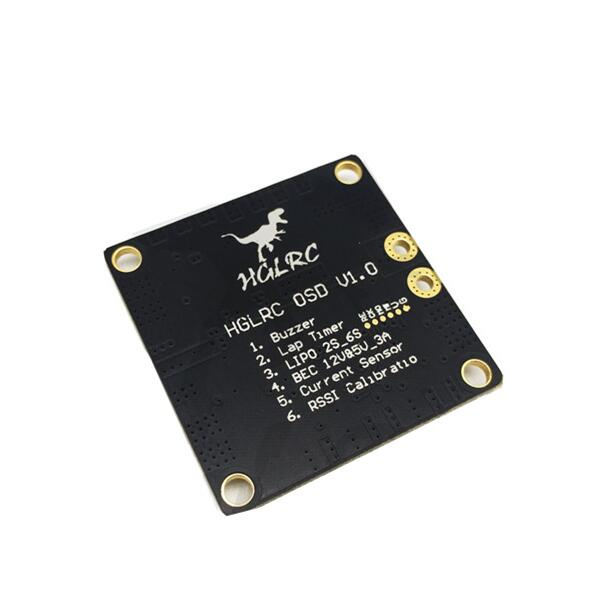
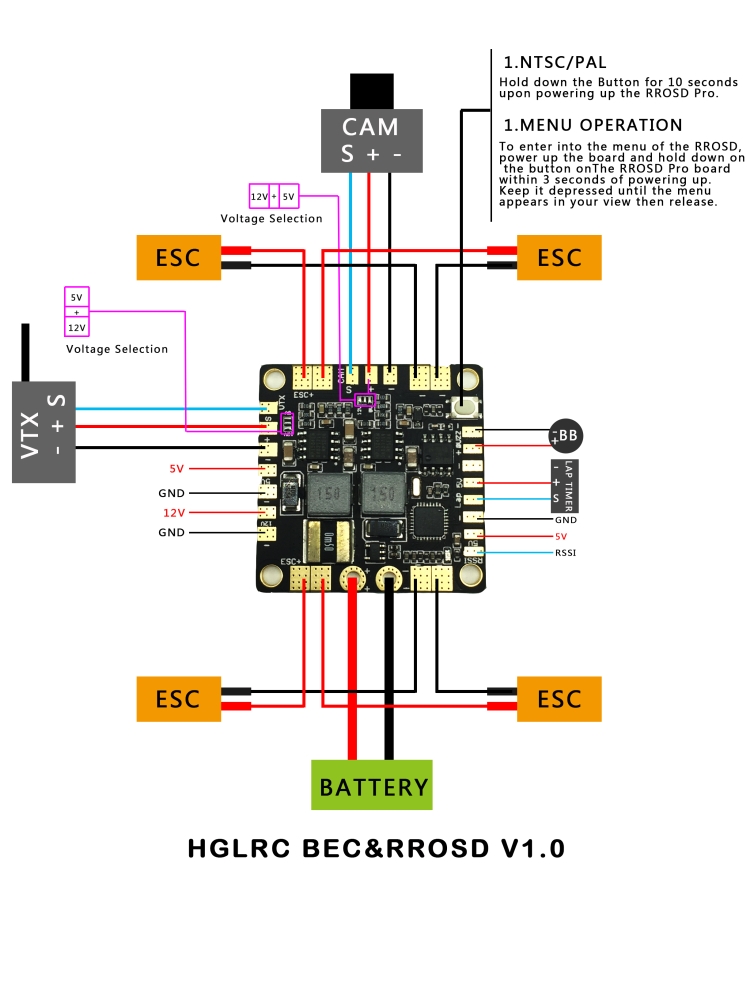
Feature:
-Thick copper and wide power routing to handle the most demanding power setup
-Dimension 36mm x 36mm (30.5mm x 30.5mm mounting holes)
-Built-in power distribution regulators to handle 3S-6S
-Built in multi stages power filter for Video Transmitter and Camera with pre-installed
and conveniently located connectors
-12V&3A and 5V&3A output: can be used for FPV cam and accessories
-NTSC and PAL can be easily selected using the onboard button
-Plug and Play (PnP) OSD information: Flight pack voltage, current draw, total current
consumption, RSSI, flight timer, Lap counter&timer
-Maximum motor current 160A total
-Automatic flight timer shows actual flight time
-The additional lost model buzzer sounds off 5 minutes after the quad has crashed.
-RSSI detection (FRsky ppm and analog compatible) displays in percentage
-Auto Battery alarm blinks the battery voltage when pack voltage hits the low limit
-Low RSSI turns on Buzzer (very handy to locate a downed quad)
-Onscreen menu allows user to calibrate pack voltage reading, current calibration, rssi
input, battery alarm level…etc....
-Lap Timer onscreen counter
-Lost model Siren (optional Buzzer)
Package Included:
1 X Power Distribution Board
Package Included:
1 X Power Distribution Board
FAQ:
Change Video Mode(NTSC/PAL)
Hold down the Button for 10 seconds upon powering up the RROSD Pro. The LED will flash 5 times
to indicate that the Video mode has been successfully changed
Menu Operation
1.To enter into the menu of the OSD, power up the board and hold down on the button on
The OSD Pro board within 3 seconds of powering up. Keep it depressed until the menu
appears in your view then release.
To navigate through the menu single click the button to move down an option. Long press to
select an option
2.RSSI Calibration: To calibrate your RSSI reading, select the high reading with your radio and
receiver powered on and nearby. Flip off the radio and select the low reading to calibrate the
bottom signal range. *The reading you will see on the OSD is the true received strength of the
signal (more accurate and different from a 2 way telemetry signal being sent from a receiver)
3.Voltage Calibration: This menu item lets you calibrate your voltage reading by entering your
own offset.
4.Current Calibration: This menu item lets you calibrate your Current reading offset from -20%
to +20%
5.Set mAH Alarm: Allows you to set mAh consumption alarm. This will cause the respective
indicator to blink on screen when the desired value is reached. We recommend setting mAH
to 80% of the battery capacity
6.Enable Background Shade: Allows you to enable or disable the darkened bar behind the OSD
text for readability under intense sunlight


